Wine Cellar Installation
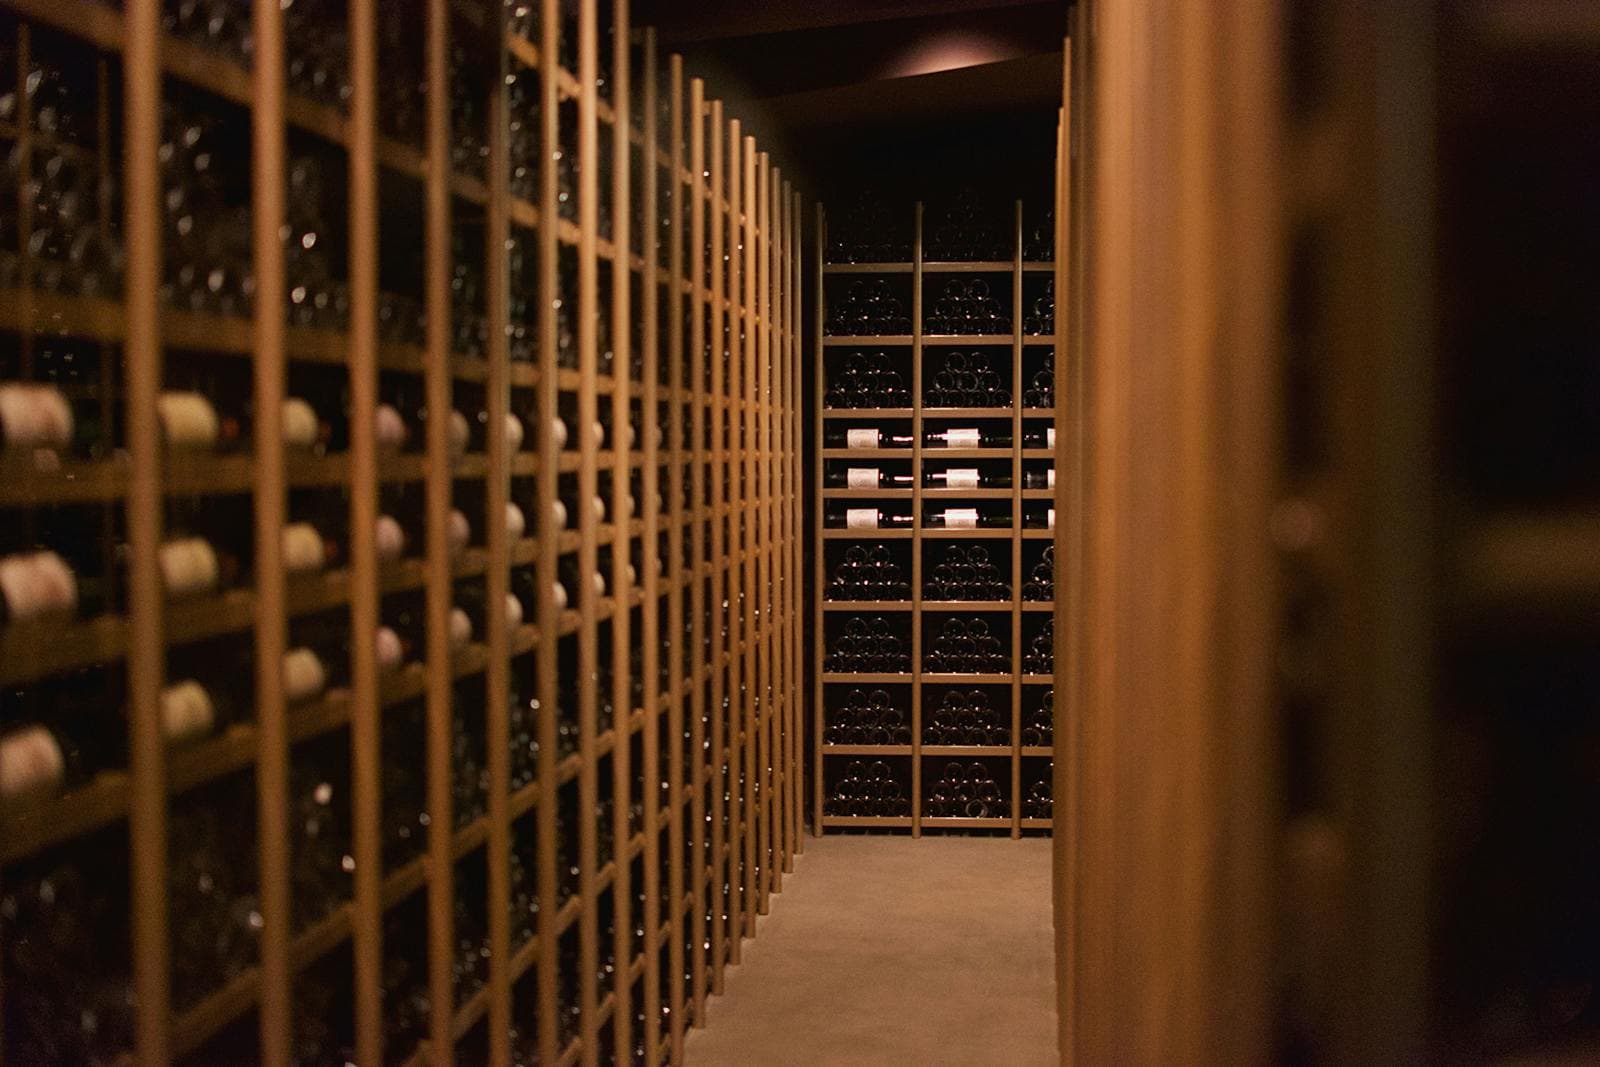
A real wine cellar installation is engineering wearing a coat of joinery. Underneath every beautiful row of bottles sits a vapor-sealed envelope, a precisely sized cooling unit, balanced supply and return airflow, and racking that has been acclimated to the room before a single screw goes in. We build wine cellars exclusively — not basements, not pantries, not bars — and that focus is why our installations hold their climate within ±1°F decade after decade. Whether you are converting a basement closet, finishing an unused garage bay, or carving a dedicated cellar room into a new home, every wine cellar installation we deliver follows the same disciplined process from the first foam bead to the final bottle.
Why proper wine cellar installation actually matters
Most wine cellars that fail were built by general contractors who treated the room like a finished basement with a cooling unit bolted on. The vapor barrier is missing, incomplete, or installed on the wrong side of the insulation. Insulation is fiberglass batt instead of closed-cell foam, leaving thermal bridges at every stud. Cooling is undersized for the cellar's BTU load, so it runs constantly and overcools and dries the air — cork shrinks, wine oxidises, and a $40,000 collection slowly dies behind a beautiful redwood door. We see it constantly: clients call us six months in to fix what should have been engineered correctly the first time. The cost of doing the install right is a fraction of the cost of redoing it, and the difference shows up in the room's stability, in the bottle integrity, and in resale appraisals when the home eventually sells. A correctly installed wine cellar is a permanent asset; a badly installed one is an expensive liability.
How a wine cellar installation actually unfolds
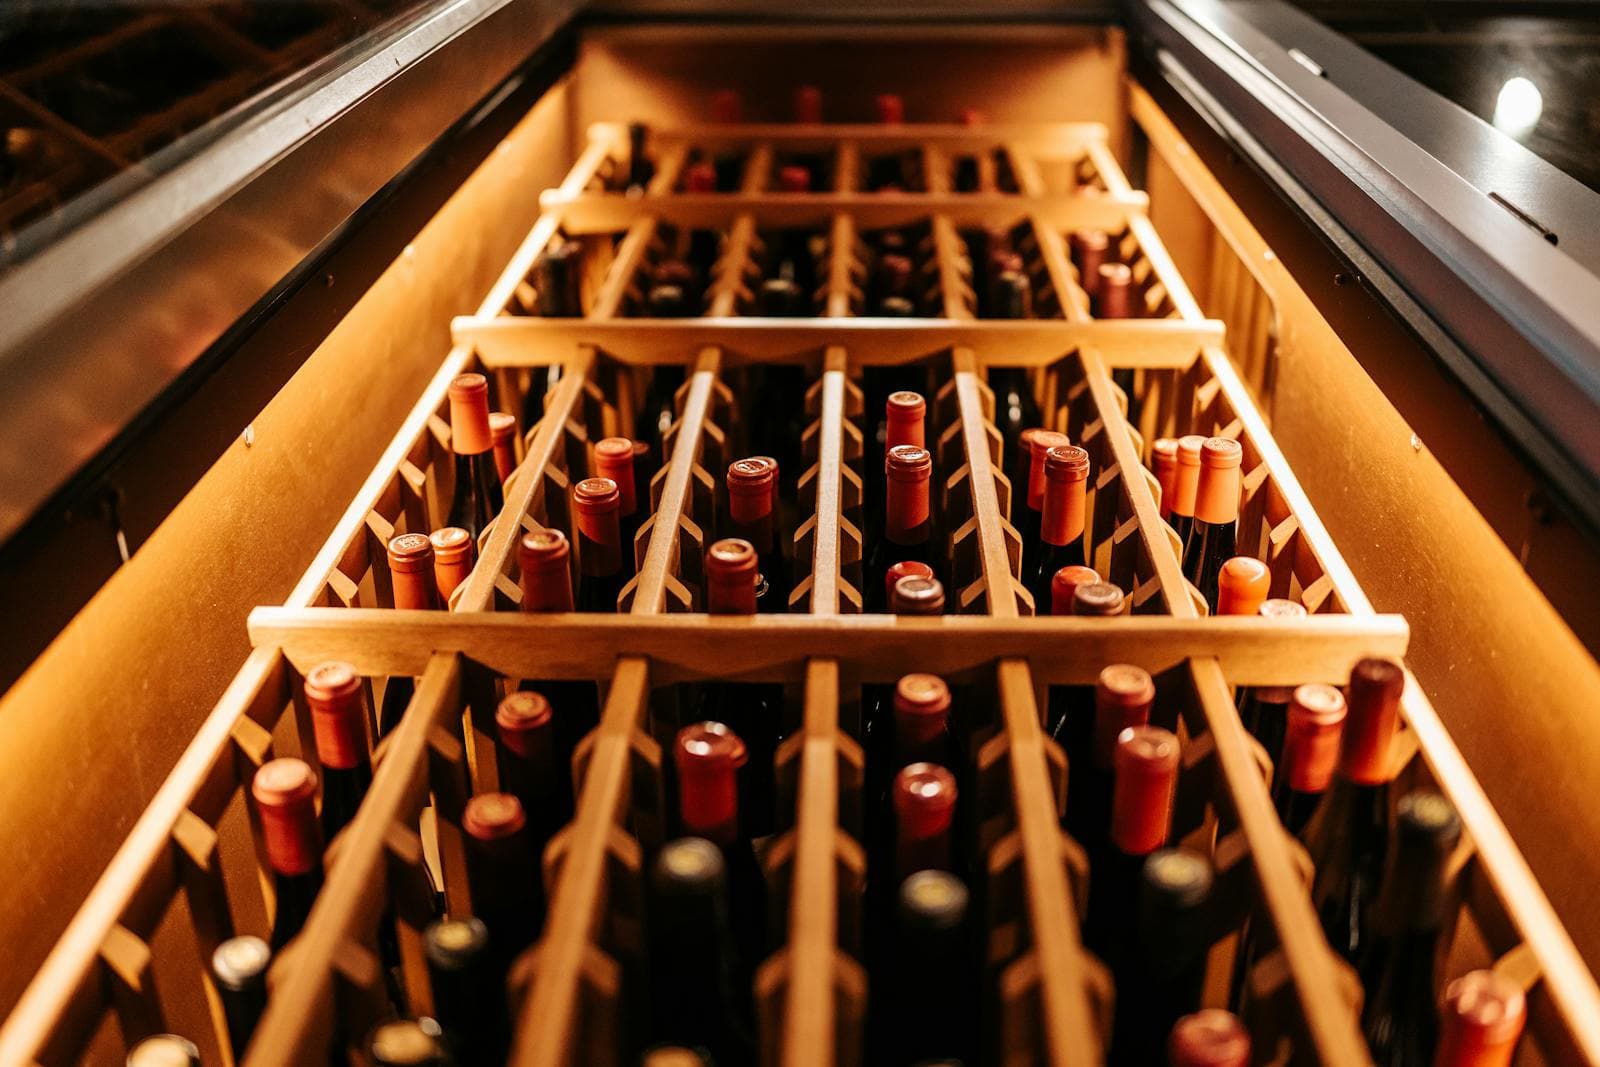
Every install begins with a site visit and load calculation. We measure the room's dimensions, evaluate the existing framing and electrical, identify thermal bridges and air-leak paths, and compute the cooling BTU required for your bottle count, glazing, door type, and ambient conditions. From those numbers we spec the cooling unit, the insulation system, the vapor barrier, and the racking. Construction starts with framing corrections, then closed-cell spray foam at R-30 to R-49, then a continuous 6-mil polyethylene vapor barrier on the warm side. Drywall and substrate go in next, followed by electrical, the cooling unit rough-in and condensate routing, then racking installation. Lighting is wired in parallel with finish work. The final week is climate commissioning: we run the room for seven days under load, log temperature and humidity at multiple points, and tune the system until the cellar holds 55°F at 60% RH within tolerance. Only then do we hand over the keys.
What's Included
- Vapor barrier and R-30+ insulation
- Structural framing for racking loads
- Electrical and cooling commissioning
- Final climate calibration to 55°F / 60% RH
Technical Specifications
Installation mistakes we fix every month
- ✕Vapor barrier installed on the cold side of the insulation — guarantees condensation in the wall cavity
- ✕Cooling unit sized only for square footage, ignoring glazing, door losses and bottle thermal mass
- ✕No condensate drain or pump — water pools in the wall and rots the framing
- ✕Standard interior door instead of a sealed insulated wine cellar door — the climate leaks 24/7
- ✕Recessed can lights cut through the vapor barrier without sealing — the entire envelope fails
Continue Your Cellar Project
Custom Wine Cellar Design
Bespoke 3D-rendered designs that match your home's aesthetic and storage goals.
Wine Cellar Cooling Units
Industry-leading cooling systems — through-wall, ducted, split, and silent.

Wine Cellar Insulation
Closed-cell foam and rigid-board insulation engineered for cellar climates.
Wine Cellar Construction
Heavy construction — basements, additions, vaults and dedicated cellar rooms.
Wine Cellar Installation Questions
Can a basement room be converted into a real wine cellar, or do I need to build new?+
Almost any basement room can be converted, and basements are usually our favourite starting point — the surrounding earth helps stabilise temperature, and you do not pay to cool the slab below. The conversion still requires a full envelope rebuild: existing fiberglass insulation comes out, closed-cell foam goes in, a continuous vapor barrier is installed, the door is replaced with a sealed wine cellar door, and a properly sized cooling unit is added. Done correctly, a converted basement room performs as well as new construction at roughly two-thirds the cost.
How long does a residential wine cellar installation take?+
Two to five weeks of on-site work for most home wine cellar installations, plus one to three weeks of design and permitting up front. Week one is framing, vapor barrier and insulation. Week two covers electrical, cooling rough-in and drywall. Week three is racking, lighting and finishes. The final week is climate commissioning. Larger custom builds — 3,000 bottles or more, or rooms with extensive stonework — run six to ten weeks total.
Will my wine cellar be loud?+
It will not. Through-wall cooling units sit at roughly 50 dB at one metre — about the level of a quiet conversation. Ducted split systems push the noisy condenser outside the room entirely; you hear only the supply diffuser, which sounds like a soft HVAC return. We isolate every cooling unit on rubber dampers and seal the chase with acoustic insulation. If your cellar sits next to a media room or bedroom, we will spec a ducted split by default.
What does wine cellar installation typically cost?+
Pricing varies with the size of the room, the materials you pick and the condition of the existing space. A straightforward project usually lands between $8,000 and $35,000; larger custom builds run higher. We give you an itemized quote — labor, materials, cooling, electrical, permits — before we ask for a deposit, so you can compare apples to apples.
How long does wine cellar installation take from start to finish?+
Two to four weeks of work on-site is normal for a residential project, plus design and permitting up front. Larger custom builds run six to ten weeks. We hand you a real schedule on day one — and we update it every Friday.
Are you licensed, insured, and warrantied?+
Yes — fully licensed and insured in all 50 states, with HVAC-certified technicians on every cooling install and a 10-year structural warranty on every wine cellar we hand over. Our cooling units carry the manufacturer warranty plus our own service-plan coverage.
Will I work with the same team from start to finish?+
Yes. One project manager and one in-house crew handles the entire job. We never subcontract framing, cooling, racking or finish work to a third party — that's the whole reason the company exists.